Monday, October 28, 2013

art supply organization {an easy chalkboard spray paint project}

We keep most of our art supplies in the basement, but I usually keep a few on our main floor too, so they are easy to grab for the kids if they want to do a quick drawing or mush some play dough. All our supplies were a mess though - thrown into a clear plastic bin, crayons spilling all over the place, mixed with markers, paint and pom-poms. 

I had one of these old IKEA MOPPE mini chest of drawers. I'm not even sure they sell these anymore! This is vintage IKEA - for some reason I've hung onto this little chest of drawers for at least 15 years. It was holding a few travel supplies but wasn't really as functional as it could be. I wanted to use it to finally organize our 'upstairs' art and craft supplies.


On a bit of a chalkboard paint kick, I pulled out my chalkboard spray paint (obsessed with the stuff!) and set about on a really simple project of spray-painting the front of the drawers. I taped the edges just so it would be a bit neater.


It only took two coats of the spray paint, but the results were really effective. With my chalkboard marker (obsessed with it too!) I wrote on each drawer and my 3-year-old helped me organize all the supplies into their compartments. 


The drawers are surprisingly roomy. And while this little chest doesn't hold everything to do with art and craft, it sits nicely in our pantry for easy access whenever the art mood strikes.


Wow, I love little projects like this. Super fast and accomplished during a toddler's afternoon nap. Quick and satisfying.

More on my pantry a bit later. As you will see, I'm really loving the handy dandy chalkboard paint trend!

Wednesday, October 23, 2013

new in my etsy store! baby name vintage postcard printable


I just added a little something to my Etsy store, Olive + Iris. I made this little vintage postcard print last year for my daughter Finley's room, and I've been asked about it a lot, so I decided to make it available for sale.

It's lovely and delicate and perfect for a baby girl's room! I will customize the name and date of birth of the baby, as well as the weight and height. The print is 8" x 10". Once I customize the file I will send along a high-res .jpg file for printing - so you can print it yourself on your choice of paper (which saves extra printing and shipping costs from my end!). If interested in the print, please click here to purchase.

Saturday, September 21, 2013

my work: amanda forrest website


I had the great pleasure of working with interior designer and TV personality, Amanda Forrest, on the design of her new website. Together we were able to create a look for her site that matches the style, glamour and sophistication of her interior designs.


Not only is Amanda a busy interior designer, and resident Design Expert for The Marilyn Denis Show. But she is the mother of five kids. FIVE!! And she still manages to look amazingly glam. This woman is my hero.


Check out her new site and her amazing portfolio here.

Tuesday, September 17, 2013

family photos

Back in August we had some family photos taken by my friend Quenby of GingerSprouts Photography.


I created the GingerSprouts logo a while back.


Quenby did an amazing job! I am in love with each one of them and now I have to decide on a few to frame. 

I am usually behind the camera taking thousands of pics of my girls so it's nice to have photos with all of us in them. Thank you Q!


Thursday, August 8, 2013

paper flowers


Love love loving this paper flower display made of old book pages that I saw in the window of Club Monaco the other day. It's giving me ideas for a very blank wall in Finley's room.

I actually found this simple photo tutorial on Pinterest! It looks not too tricky, right?


Thursday, July 25, 2013

sage's third birthday: an art party!

On Saturday July 13th we held a birthday bash for Sage's 3rd birthday. She wanted an Art Party. What a fun theme. And actually a pretty easy one to pull off - the colour scheme was pretty much anything goes! 

I was inspired by this Paper Source wrapping paper I saw at Chapters.


I created this invitation, with a watercolour by Sage on the flip side.


The tone was set for the party! Watercolour splashes and dots became the motif. Using this awesome Trend font throughout a lot of the decor and designs helped pull everything together.

The party was held outdoors, and thankfully it was a beautiful {although extremely hot} day. As I think I mentioned once before, usually it rains or snows on our outdoor parties! Including our wedding. But Mother Nature was smiling on us this time around. I did add some party spirit inside the house though, in case guests needed to cool off.

I had used this old window frame to display photos for Finley's party, but used it as a sign for Sage's.

Favourite photos of my three year old {wha?! how?!} from the year were displayed on a big photo wall. I didn't use washi tape to stick them up this time though. Lesson learned!


Ok, let's head outside and into the back yard where everything was happening!


Polkadotted gate!


We were lucky enough to borrow a lot of tables, tents and umbrellas from Mr. P's parents who hold a huge family reunion every year and they have quite an inventory of outdoor party gear!


And this is where we put the art in the pARTy...canvases were hung on the fence for each wee guest, along with customized 'smocks' {large white t-shirts} for painting. The littlest guys had wee canvases.


The kids loaded up their paper plate palette with all sorts of paints at the Picasso Paint Station.


Truthfully, I didn't quite believe the kids would actually paint. At least not all of them, and not at the same time. But to my surprise they did! They all did! Even the littlest ones. It was an adorable sight actually, all the kids lined up in their giant t-shirts.


Yes that's a crayon jumping castle you see in the background! I had no idea there was such a thing. My hubby, Mr. P., found it online at a company nearby.


These cute little snack cups are from Target and went along with the colourful dots motif.


Sage's favourite colours are pink and blue. So even though I decorated with a rainbow of colours, I did mainly stick with pink and blue for the tableware. I spotted the watercolour dot napkins on clearance at Party City


Sage's yearly 'love' signs were hung on the fence. It's so interesting to see the changes from year to year!


As mentioned, it was a sweltering hot day! And our house is pretty new so we don't have a tree or stitch of shade in the backyard. So we set up a sprinkler and a little kiddie pool filled with water and balls. The water may have been more of a hit than the jumping castle. It's the simple things.

Here's the birthday girl, cooling off in the sprinkler and having a blast in the pool. Seriously. Why did we waste our money on a jumping castle?!


Let's not forget about the loot bag! Lots of art-filled goodies in here and some old fashioned candied dots. They tasted like wax, but whatevs! 
{Lesson learned from this party: taste the treats before you hand them out}.


The day after the party, Sage was eating breakfast and was very quiet, very reflective. She wasn't saying much and then blurted out "that was a really great birthday party." Awwww....what a sweetie she is. Love that girl. And that's why we keep throwing these big birthday bashes again and again!

Friday, July 19, 2013

happy birthday, sweet sage

It's been a busy week! We had a big birthday bash on the weekend for my Sage who turned three last Friday (party pics to come). My hubby was on a business trip this past week too. Much respect to single moms everywhere! I had just a taste of that for a few days and it's tough, exhausting.

Even though I'm a week late, I didn't want to miss posting a birthday message here to my wonderful Sage - one of the sweetest, coolest girls I know.

Wednesday, July 3, 2013

daisy field

I kept driving by a field of daisies near my house and thought it would be such a lovely spot to take some photos. So I dragged my hubby and girls out there to snap some pics. Here's how they turned out. Love.


Sunday, May 26, 2013

finley's first birthday: a monkey party!


Remember this post? Unbelievably that was over a year ago! My sweet little baby girl, Finley, turned one year old this month. Alarming the way a year can fly by. And astonishing how in the span just one short year. a little person can grow and develop and become an incredible being full of personality.

Finley is a lovely little girl. She is sweet, spunky, easy-going and yet vocal and opinionated at times. She understands so much, and loves to make us laugh. She adores her older sister Sage. She smiles a lot at strangers and is quite a charmer. Physically, she is super coordinated and rolled over at 2 months, crawled at 7 months and walked at 11 months. I think she will get what she wants out of life.

Finley was given a Jellycat monkey when she was born and it quickly became her best friend. She loves Monkey and talks to it, hugs it, kisses it. So even though a 'monkey' birthday party wasn't exactly the most original theme, we just had to do it!

I didn't go all out here! I can go really nuts with decorating and matching colours but I held myself back and really wanted to throw a party on a low budget. Decorating with photos from the year helped a lot. Here are some pics from Finley's first birthday party...


Finley and beloved Monkey

I designed the invitations, setting the tone with a pink and green colour scheme.

UPDATE: These customized, printable monkey invitations are now available in my Etsy shop here!

Pink and green flowers - cheap flowers! I've never used carnations before but they actually looked pretty good in these old juice bottles I held onto. Tablecloth is from Walmart and was $2.

We kept things pretty simple...

...but I used a lot of photos I had taken of Finley in her first year. I usually take a photo of her on her monthly 'birthday' sitting in a white chair, and displayed each month here in an old window frame.


Instead of a candy bar, here is a kid's snack bar! Much cheaper than candy but still delicious.

By total mistake I happened upon these cool printable monkey masks for $5 at Caravan Shoppe. I printed them, cut out the eyes, and taped them to dowels.

The kids had a blast with the masks!

Simple tablescape.

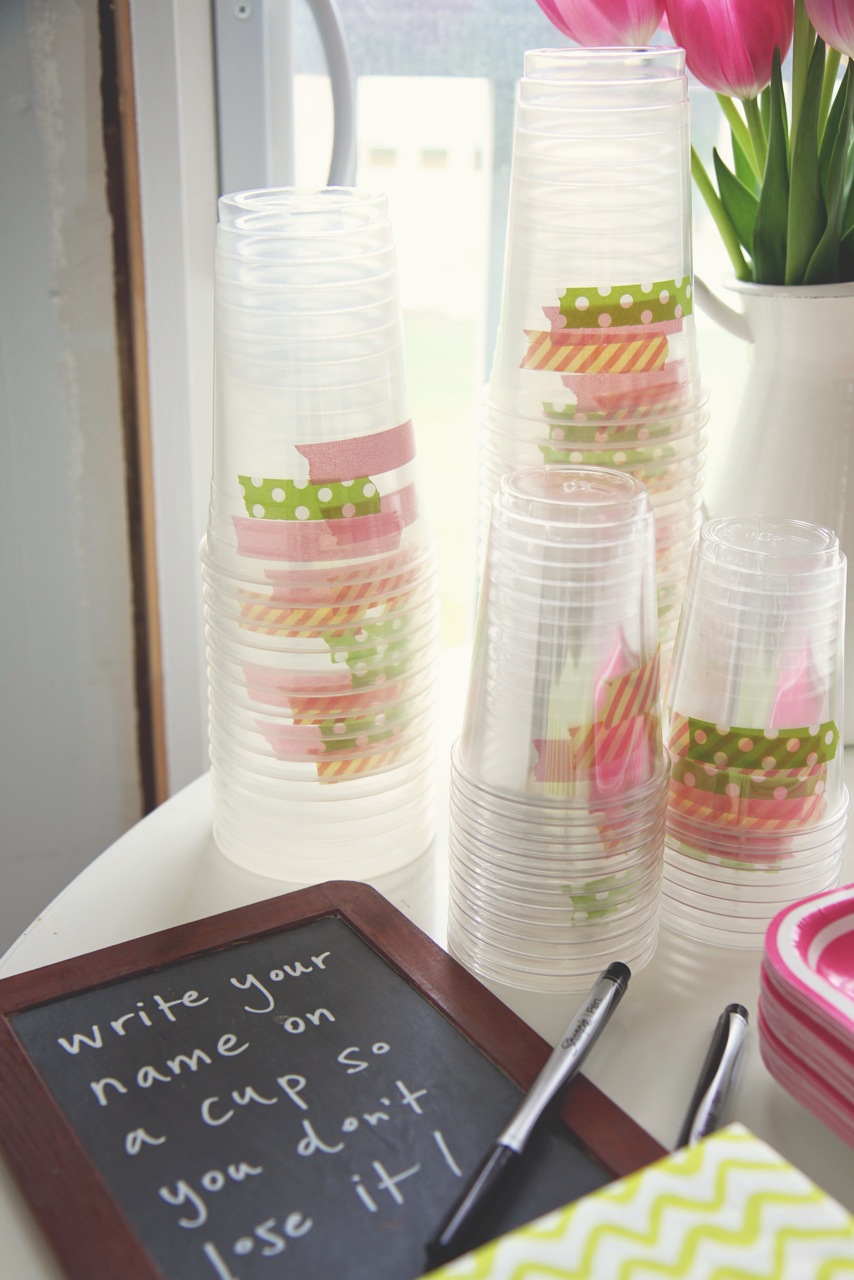
This was a Pinterest idea...to put washi tape on cups! The tape pretties up the plain/cheap plastic glasses but it also allows guests to write their names on there so that the cups didn't get lost.

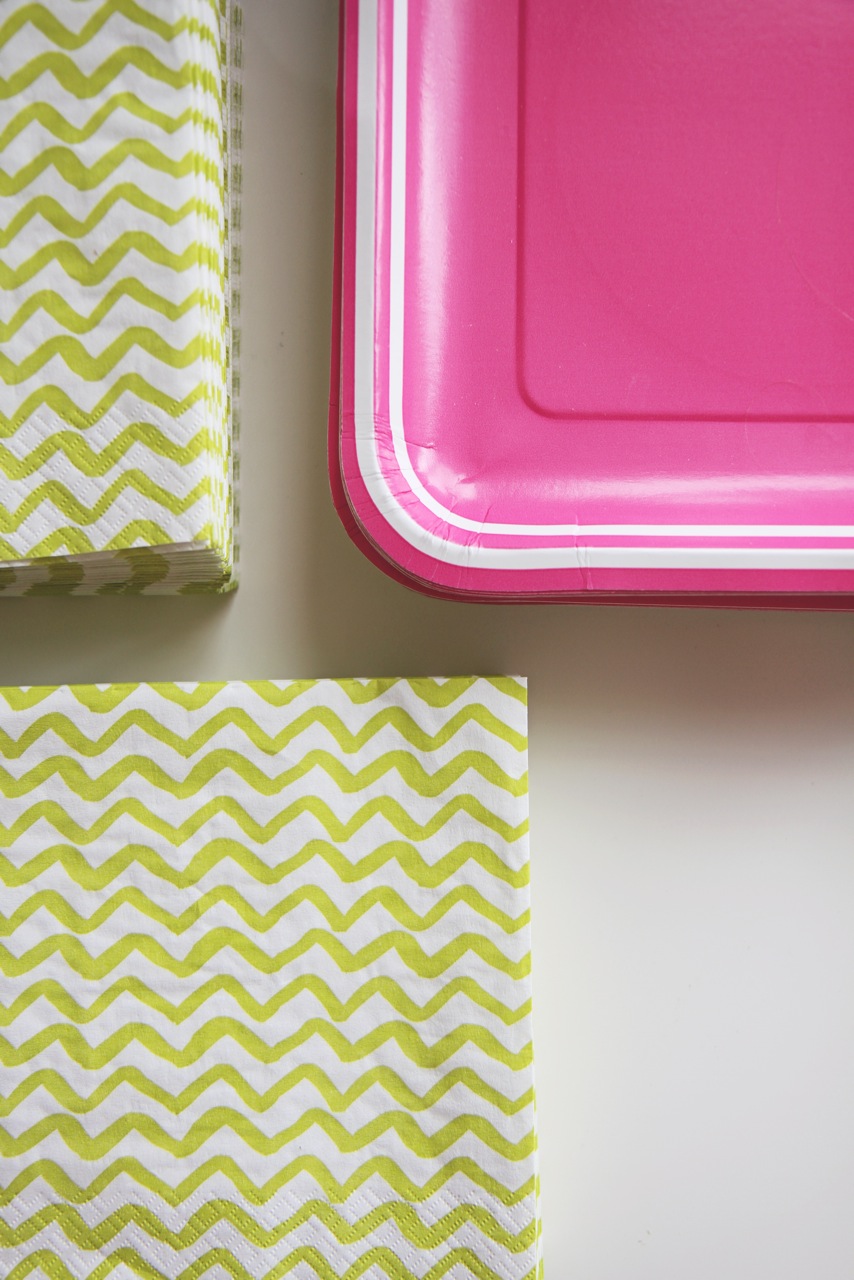
Target recently opened in Canada. And I was happy to find these cool plates and napkins in the pink and green colour scheme.

In the past we've had grand outdoor barbeques that involved lots of cooking. Not this time. We were smart. Pizza and salad! Yummy and simple.

And it's a good thing we didn't plan a barbeque because that is sleet you see on the window there. Yes, it snowed on May 12th! Usually it rains on any outdoor party I plan. But snow...that was a new one! So much for the jumping castle we had ready to go.

Here is my huge photo wall! I taped up photos of Finley from the year using washi tape. What I learned: some washi tape doesn't like to stick on walls. Half the photos had fallen on the floor the next morning (yes, the morning of the party). I had to re-tape all of the photos using painter's tape on the back! The washi tape still looked pretty though.

My sister, Auntie Shayna, made these yummy chocolate banana muffins
(photo taken by Matthew Segal)

 
My other sister, Auntie Melanie, bought this yummy monkey cake! Truly it was chocolate bliss. It was from Cakes by Stephanie.

Here is proof that the cake was so good...(photo taken by Matthew Segal)

...the birthday girl started eating the plate to get every last morsel of chocolate!
(photo taken by Matthew Segal)

So did she enjoy her birthday cake? Ummm...yah!!

 Loot bags with custom monkey stickers and washi tape of course.


What a great party it was! Despite the snow and the fact we couldn't use the jumping castle. Wishing the happiest of first birthdays to my sweet little girl. Happy birthday Monkey!